🗓 This documentation was updated in November 2022 to reflect Jira’s user interface changes. If, at the time of reading, you find that our instructions are no longer up-to-date, please let us know!
Jira is a tool used for project management. It centers around a ticketing system whereby features, chores, and bugs can be ticketed, tracked, and assigned. AppSignal can be integrated into Jira for the automatic ticketing of incidents. This documentation will guide you through the steps needed to integrate AppSignal into your Jira project.

Configure Jira

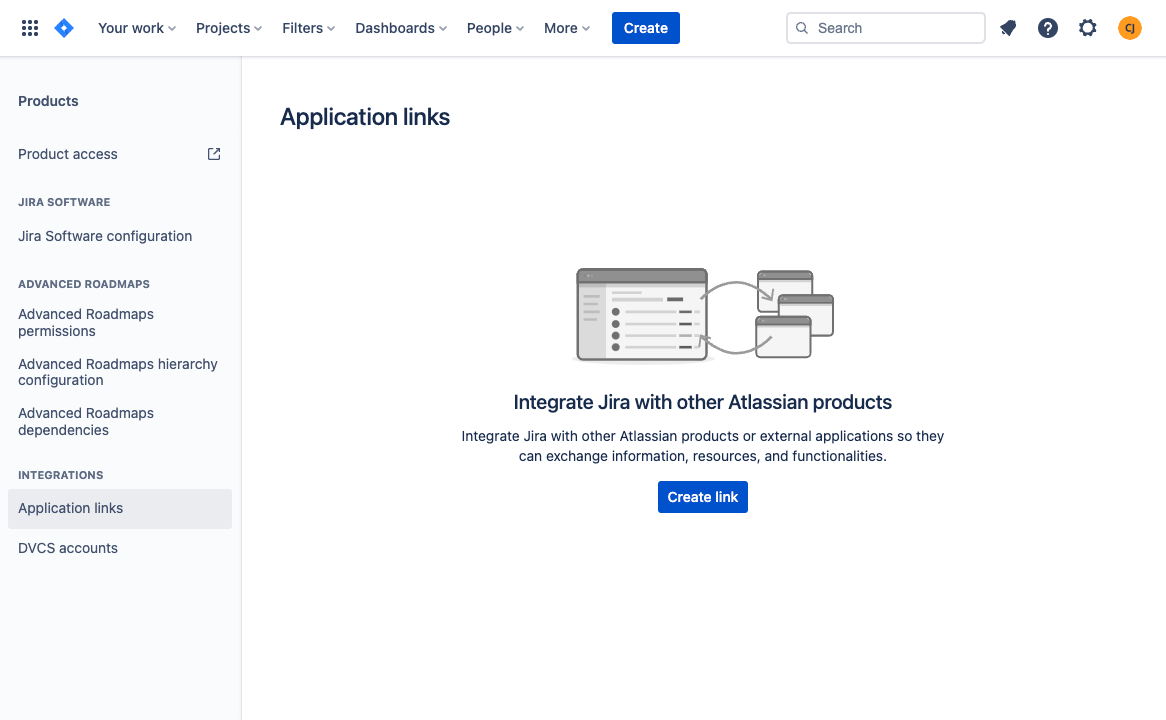
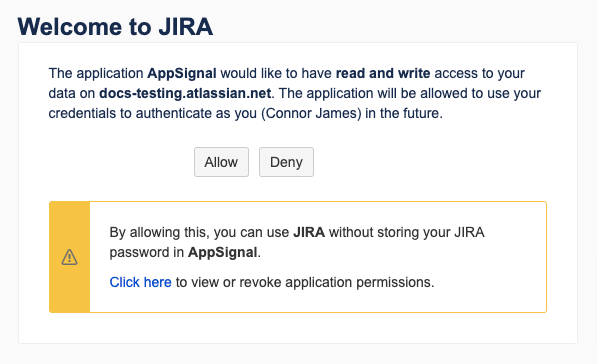
Before we can link AppSignal to Jira we need to configure Jira to accept our OAuth request. To do this, click the settings cogwheel (⚙️) on the top-right of the navigation bar and select Products from the settings menu. Jira Products Select “Application links” from the Products side navigation, then click “Create link”. Jira Add Link A pop-up will appear. In the Application URL field, add the address: 
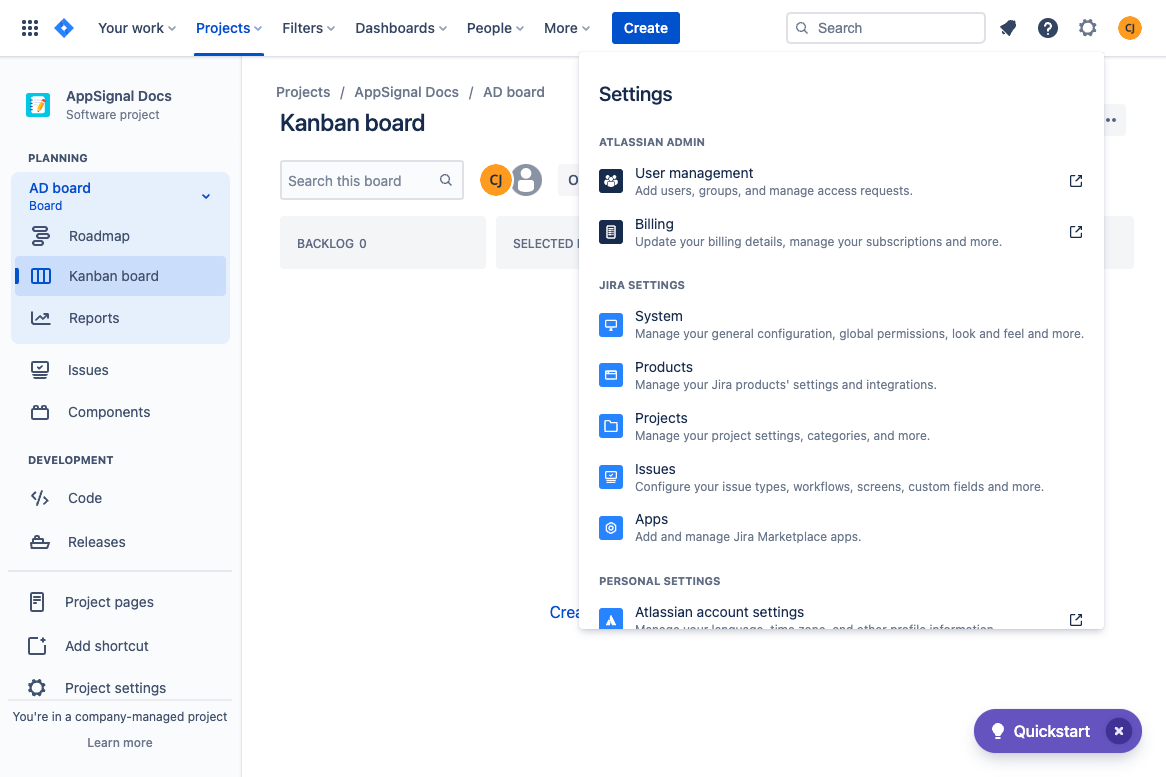
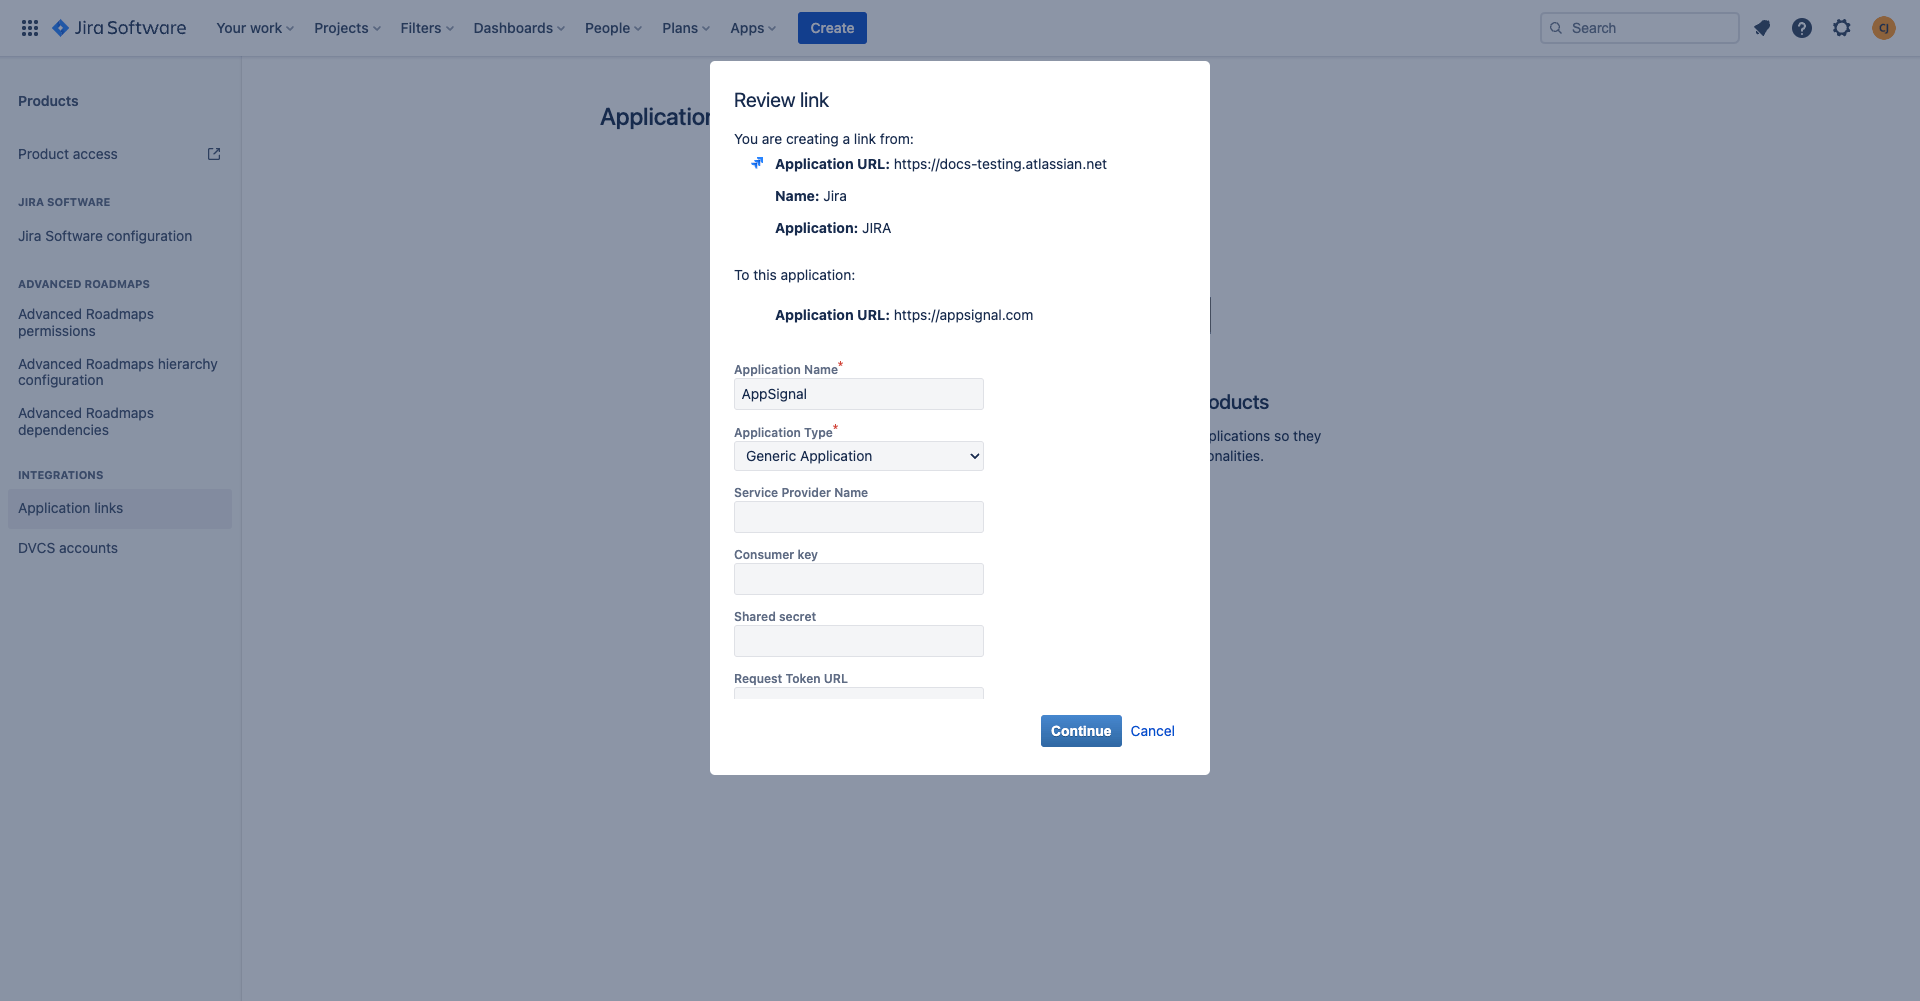
https://www.appsignal.com Jira Add Link Pop Up Jira may show the error: “No response was received from the URL you entered”. You may ignore this error and proceed by clicking “Continue” You will next be presented with a Review Link screen. You only need to provide an Application name before continuing. Name the application: AppSignal, and press continue. Jira Review Link Pop Up

OAuth Setup

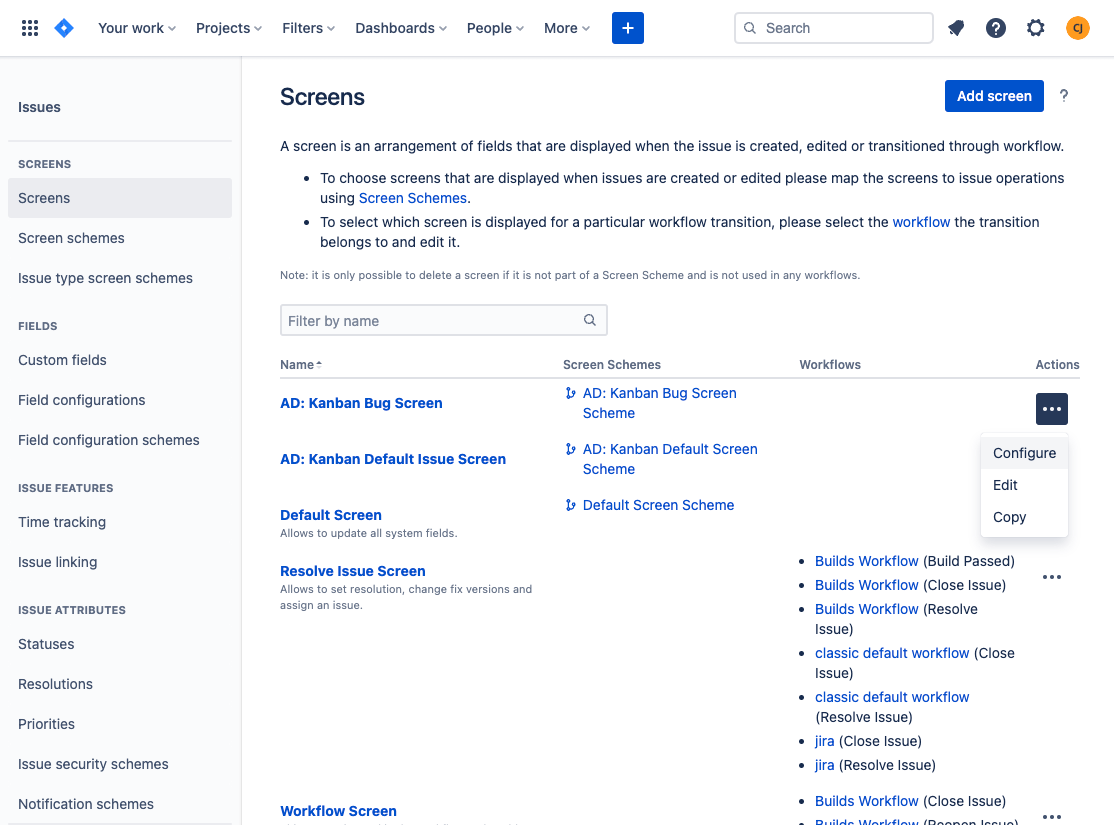
Now it’s time to configure AppSignal’s “Incoming Authentication”. To do this, navigate to “Edit” on the “Application links” screen:
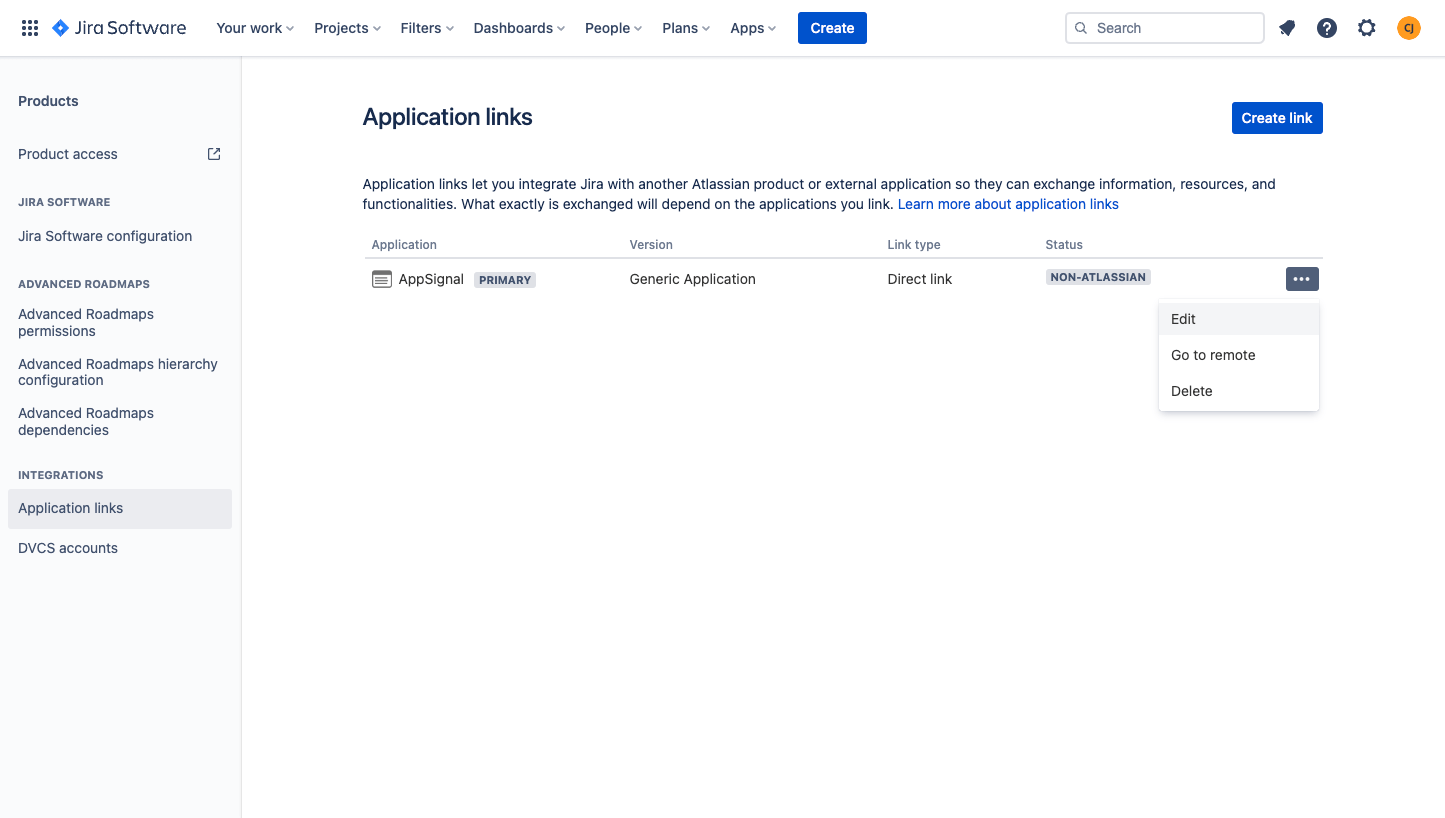
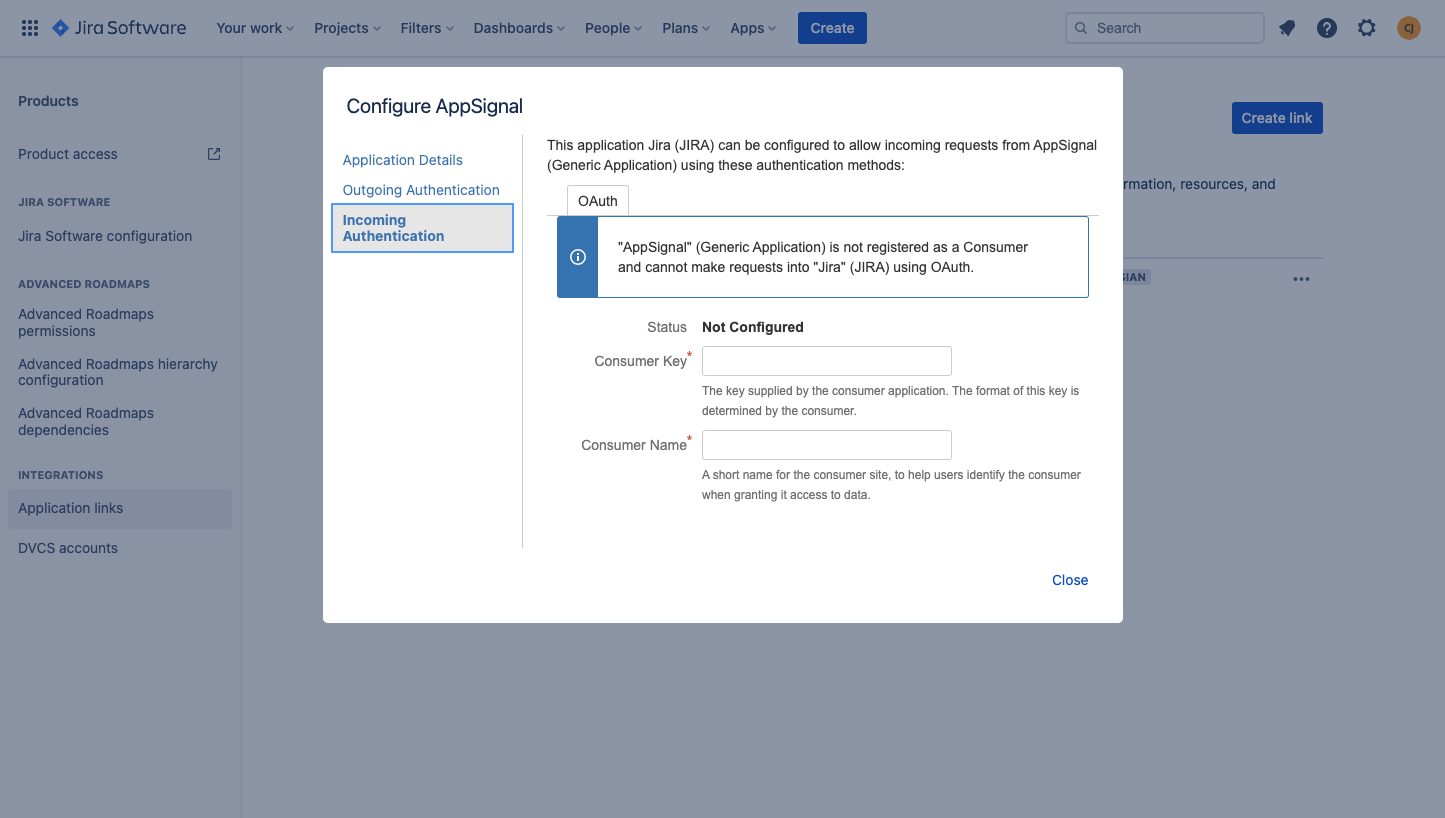
 Jira Link Edit Hover A “Configure AppSignal” pop-up will be opened. Navigate to “Incoming Authentication” on the left menu. Jira Edit Link Auth In the “Incoming OAuth” tab, set up OAuth with the following values:
  • Consumer Key: ce2jejafmni3qmnzrfergg9fLpzxmppl
  • Consumer Name: AppSignal
  • Public Key:
Text
-----BEGIN CERTIFICATE-----
MIIDaDCCAlACCQCmEw1Ty8uuRTANBgkqhkiG9w0BAQsFADB2MQswCQYDVQQGEwJO
TDEWMBQGA1UECAwNTm9vcmQtQnJhYmFudDESMBAGA1UEBwwJRGVuIEJvc2NoMRUw
EwYDVQQKDAxBcHBTaWduYWwgQlYxJDAiBgkqhkiG9w0BCQEWFWNvbnRhY3RAYXBw
c2lnbmFsLmNvbTAeFw0yMjA0MjExMDQ1MjBaFw0yMjA1MjExMDQ1MjBaMHYxCzAJ
BgNVBAYTAk5MMRYwFAYDVQQIDA1Ob29yZC1CcmFiYW50MRIwEAYDVQQHDAlEZW4g
Qm9zY2gxFTATBgNVBAoMDEFwcFNpZ25hbCBCVjEkMCIGCSqGSIb3DQEJARYVY29u
dGFjdEBhcHBzaWduYWwuY29tMIIBIjANBgkqhkiG9w0BAQEFAAOCAQ8AMIIBCgKC
AQEAtts1uBJnpIP89PDrlz7EjmEOBBE9RRjpfEEcPctwyYwgLwlP1rK75Qsi/f/T
4T8jD1Q5uVoaAx03m+OBnAJu016qZI2yaCBDVw4+eZwhD9O4kj9ZvwsOFv+ewme8
Bi4MSh+PpXcZuf+FAtAWEPS0aZlA3tq1DokxiJsu1UjfDGBjpVGRf4vwPhQg9Qaq
SPOpFODHX6m2fQvglRUxU6y9pJgXhBUxhkiyAosJOnvVLVVdOJ/cnEM6XRfXMb1I
aa7on+2dMjryZktYCZRwWMKBfTP3v4qyWB/keyob9K/BvHi8uDTSbJV62vQ+WJza
b3STEtFvLl6o2l8GzSkHVlX8/QIDAQABMA0GCSqGSIb3DQEBCwUAA4IBAQAXnutJ
HHFo3s+b1pnbRs0uKQ/D8bMUlGQocOh2+7189puEdy161Z6qXbv7QL2Z5uAhd67j
I/8h3Fchtiy+PbXAn5L+cTQ8ixPllBq4+WFCnL+lWhV4Pnv+qc6KohBHOfgYL9U0
aKGYe5/eFBdewXE1VT+qfncXOxRSjGr4L5UqqS3672ncl1mEWwX6VN/SiGQ8eQ2h
FnBIhGCok9w2GLRmx7bfdQVo0b5ROq1FgWyWJWT+eFRmAJ4ei2YrjmfgAfgVEco3
LfAzOw42KKEkcFLiPLZarCGh15fh7QSdBIVI1aF15vceLONC4EEvxMpFLYljmqIF
aXqiZ0iKf9gfCvtP
-----END CERTIFICATE-----
Click “Save”.

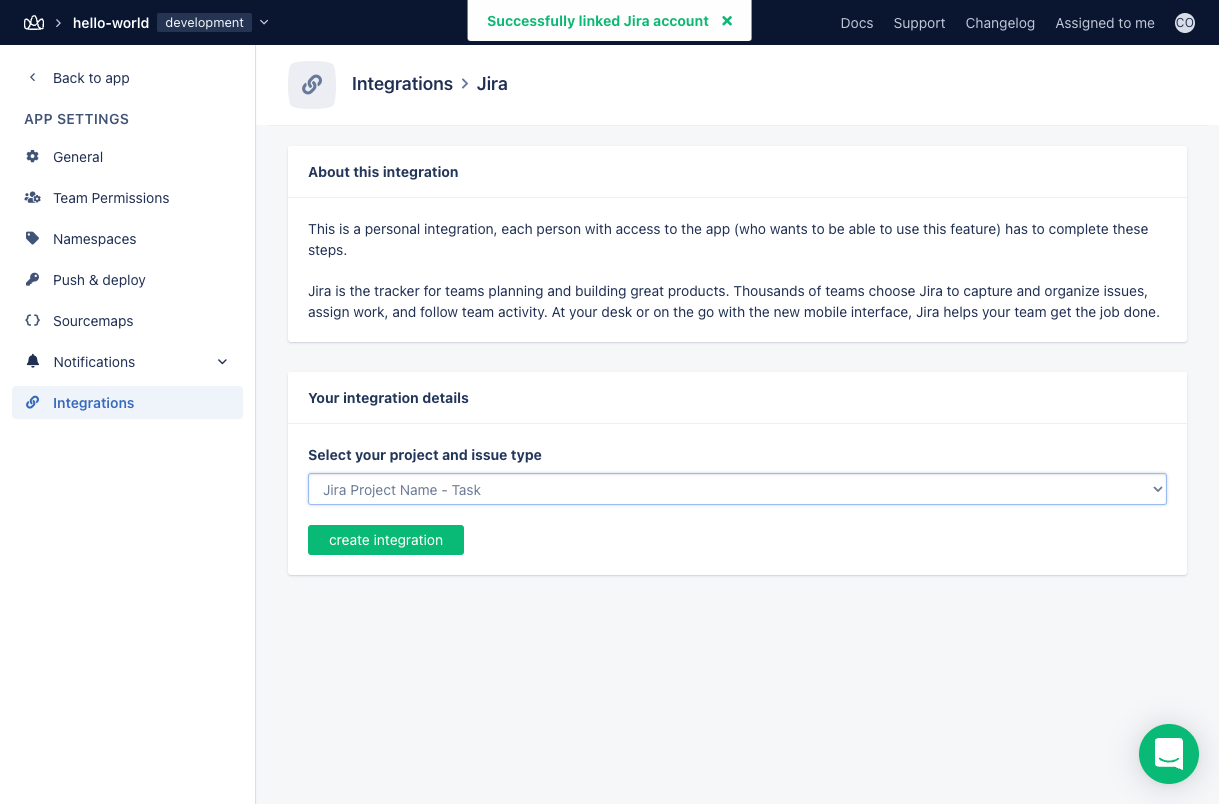
Configuring AppSignal

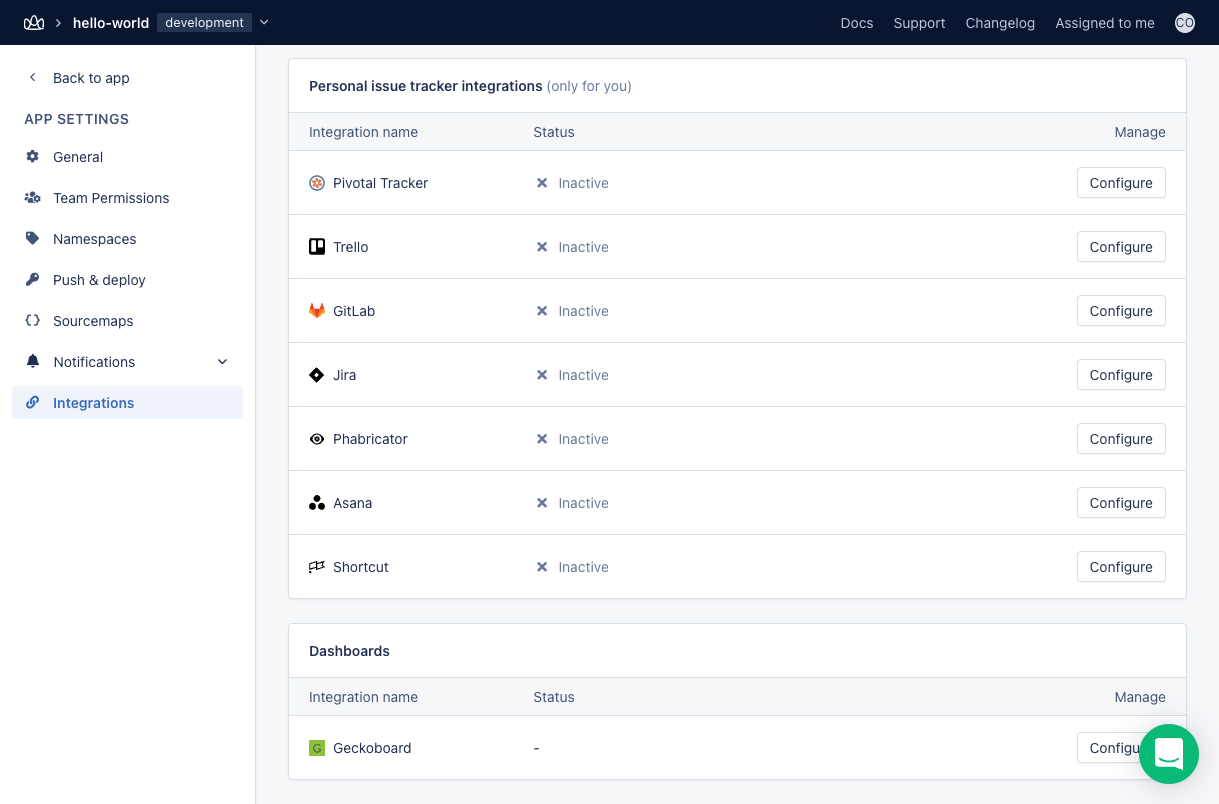
To complete the process of linking your Jira project to AppSignal, AppSignal must be configured to communicate with your Jira project. To do this, open your application in AppSignal. Click “App settings” on at the bottom of the left-hand navigation pane and then click “Integrations”: AppSignal Settings Navigate to “Personal issue tracker integrations” and click “Manage” for Jira. Alternatively, follow this link. AppSignal Integrations Scroll down to “Jira installation location” and enter the URL of your Jira project, e.g.: 
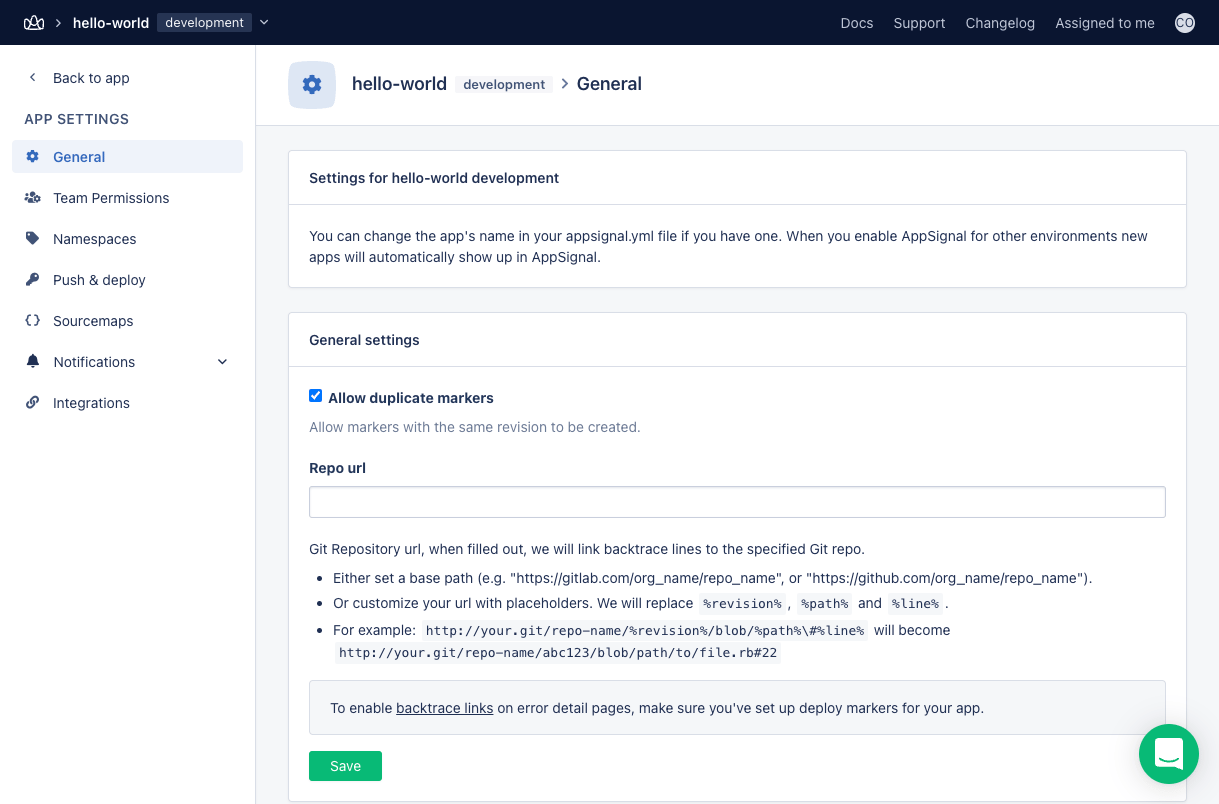
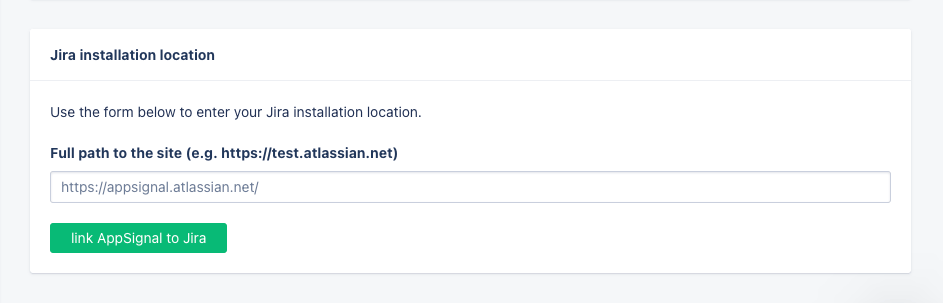
project-name.appsignal.net, then click “link AppSignal to Jira.
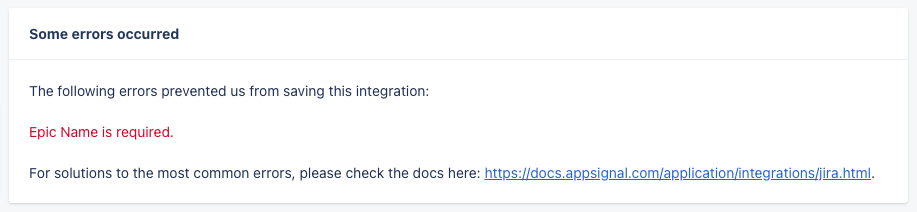
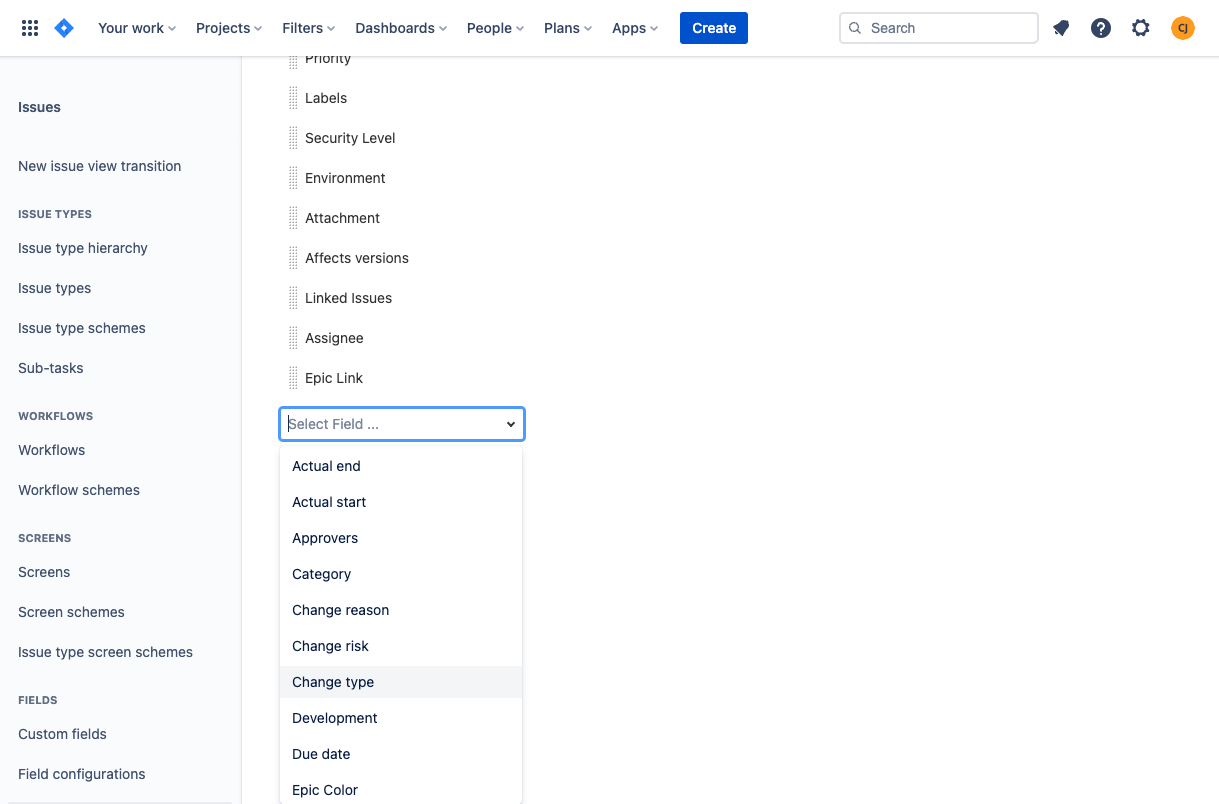
 AppSignal Connect Jira You’ll be presented with the following authentication screen. Click: “Allow”. Jira Connect You’ll return to AppSignal. Here you need to select which project and issue type you want to use for AppSignal issues. To proceed, click: “create integration” Appsignal Jira Linked Config If this step produces an error message, please read the errors section for further guidance.

Errors

AppSignal requires four fields to be present in Jira:
  • Labels
  • Environment
  • Summary
  • Description
AppSignal will show an error message on completion of setup if fields are missing and specify which ones must be added in Jira. AppSignal Jira Integration Error You will have to add the fields to the Jira screens by going to the “Issues” tab in the “Settings” menu: Jira Setting Issues Then navigate to the “Screens” on the left navigation pane and click on “Configure” for the relevant screen: Jira Screen Options On this “Configure” page Jira will present you with a list of already configured fields. Scroll to the bottom of the page and add the missing required fields. Jira Screen Config Once all fields have been created, you should be able to resume and complete the configuration your Jira integration from the AppSignal app.

Need Help?

If you’ve followed the steps on this page and are still getting stuck, feel free to contact us at support@appsignal.com.

Integrations list